How to make your own holiday cards
Holiday cards are a huge part of the holiday season, and they can be found in stores everywhere. Although it may be more convenient to use store-bought cards, a handmade card is a more meaningful gift. Here are a few ideas for do-it-yourself holiday cards to give to friends and family. You don’t need to worry about them being perfect– it’s the thought that counts.
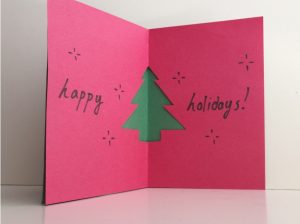
Cut Out Card
Futo Wada
Materials: Paper, scissors, pencil, and tape or glue
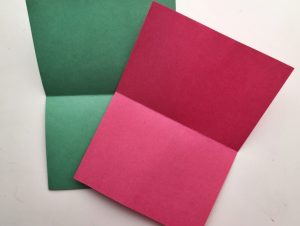
- Pick two pieces of colored paper to serve as the outer and inner layer, and fold both of them in half.

Futo Wada
- On the inner layer, trace desired symmetrical shape on folded side.

Futo Wada
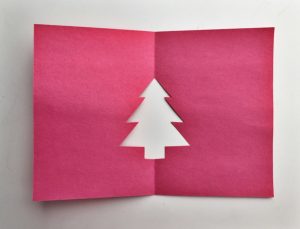
- Cut the sketch out.
- Tape or glue two pieces together for a simple but cute card!
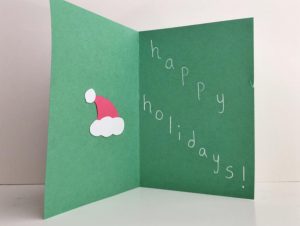
Collage Card
Futo Wada
Materials: Cardstock paper, paper of varied colors, scissors, and tape or glue
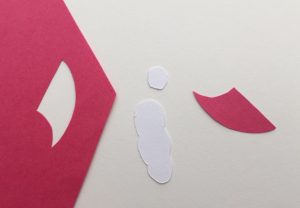
- Cut out the pieces for your collage.

Futo Wada
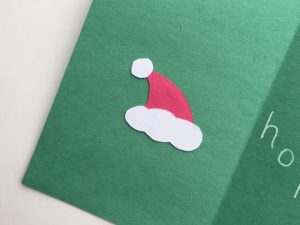
- Carefully glue them onto the cardstock paper.

Futo Wada
- Repeat with as many patterns and designs as you want.
Minimalist Card
This is for those who need to make a last-minute card, but still want some festivity.

Futo Wada
Materials: Cardstock paper of varied colors
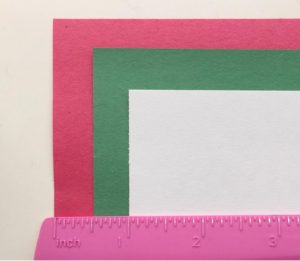
- Cut ½ inch off of each side for one paper.
- Repeat the same procedure with another color of paper, but instead cut 1 inch.

Futo Wada
- Layer the paper according to size, and tape/glue them together.
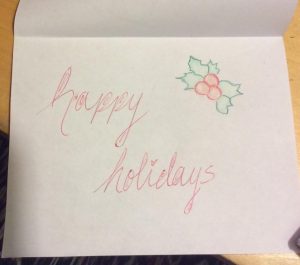
- Add your desired message, and you’re done!
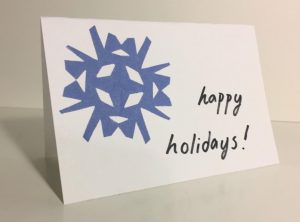
Snowflake Card
Futo Wada
Materials: Paper of two colors, Tape/Glue
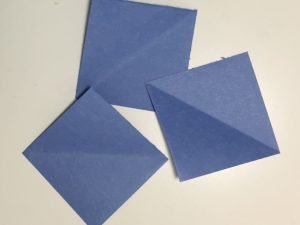
- Cut out paper into squares.

Futo Wada
- Fold the paper in half into a triangle.
- Fold the triangle in half twice.
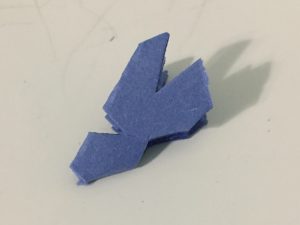
- Cut out shapes on the top, side, and/or bottom as desired.

Futo Wada
- Open the “snowflake” and glue it onto the card.
- Add any other embellishments or messages of your choice.
3D Snowman Card
Mauli Patel
Materials: Cotton balls, glue or tape, paper of choice, colored pencils, black Sharpie or marker, scissors, and colored pens
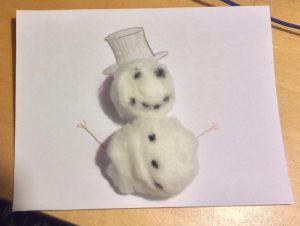
- Fold the paper half either vertically or horizontally. If you wish to make the card smaller (like in the picture above), cut along the folded line and then fold the paper in half again.
- On the inside of the card and add a greeting, message, or drawing of your choice.

Mauli Patel
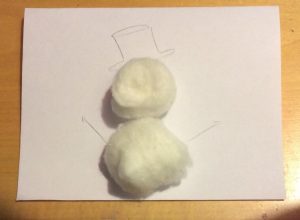
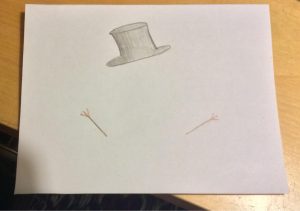
- Once you finish the inside, go to the front of the card. Take two (or three, depending on the size of your card) cotton balls and position them to look like a snowman. You can stretch out the lower cotton balls to look bigger than the cotton ball representing the head. Sketch out the hat and arms according to where the balls are positioned, then move the cotton balls to the side and color the sketches in.

Mauli Patel

Mauli Patel
- Use the sharpie to draw the eyes, mouth, and buttons on the cotton balls. Then, use a little glue or tape to stick the cotton balls onto the card so they are positioned correctly between the arms and hat. Make sure the the face isn’t upside down!
- Once everything is dry, you can add other embellishments such as glitter if desired.




Recent Comments